Statute of of Liberty
 |
Wood Texture
 |
Gold Texture
 |
|---|---|---|
Layers
 |
Textured Statue of Liberty
 |
|
Steps
|
||

Thursday, 18 June 2020
Photoshop - Animal Skinswap 3
Photoshop - Animal Skin Swap 2
Original Dragon
 |
Original Honeycomb Texture
 |
|---|---|
Layers
 |
Honey Dragon
 |
Steps
|
|
Photoshop- Animal Skinswap
Original Rhino
 |
Original Leopard
 |
|---|---|
Layers
 |
Leno
 |
Steps
|
|
Squirrelion
~ Squirrelion ~
Original Lion |
Original Squirrel |
Layers
 |
|---|---|---|
Squirrelion
 |
Tutorial Squirrelion
 |
|
Steps
|
||
Wednesday, 17 June 2020


10 Hours of Coding Hour 10
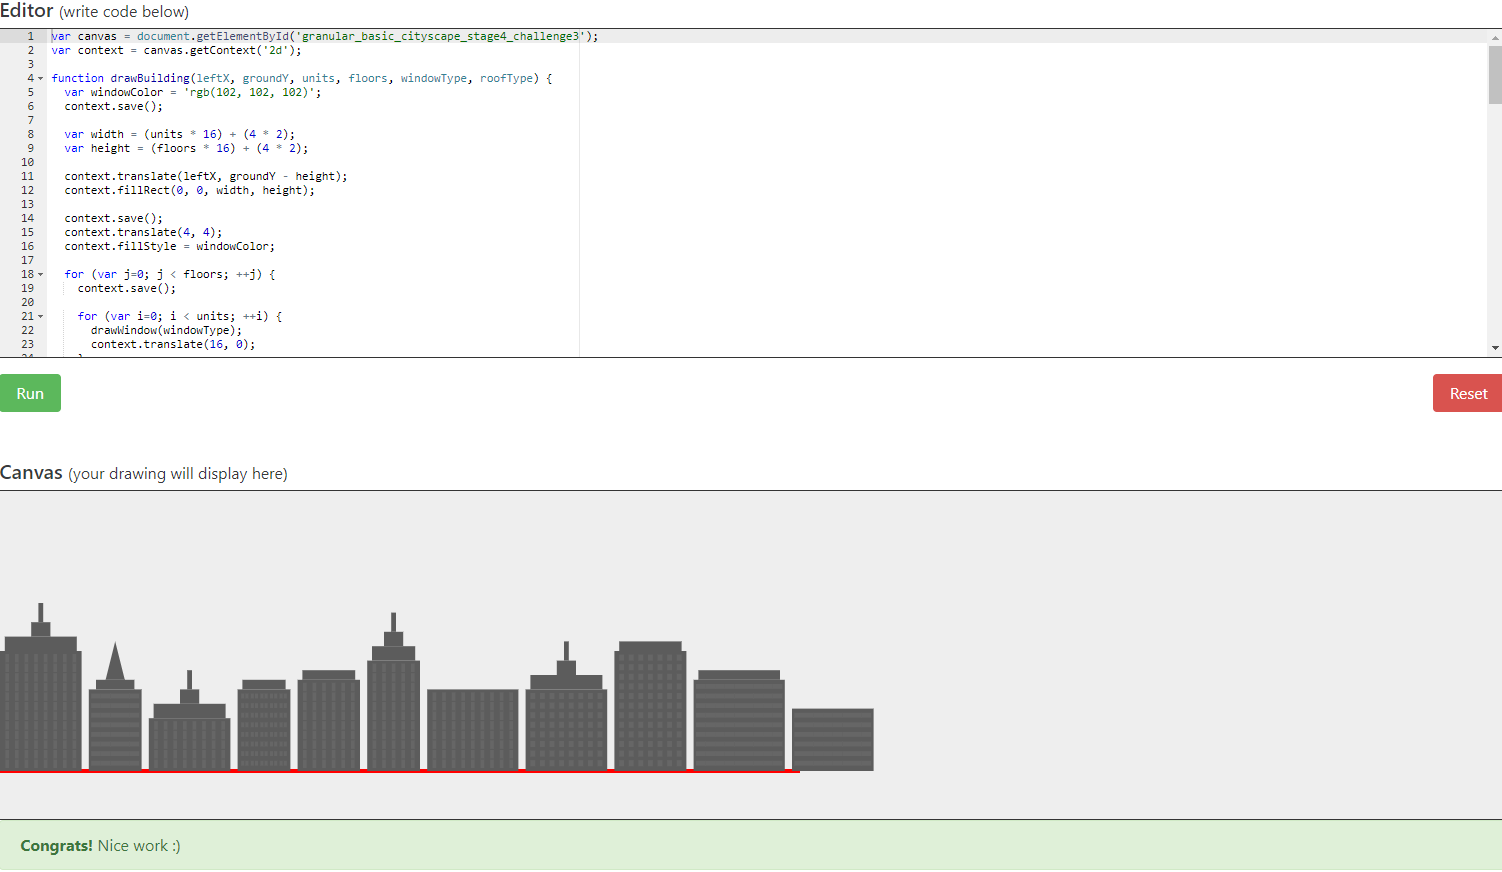
This hour I completed the fourth and final section of the Basic Cityscape course to finish my learning about drawing with code.
Specifically, I learned how to create a 3D illusion by making 3 rows of buildings and darkening the colors of the buildings in the back. A new function I learned about was the context.scale() which is used in the draw function to randomize the size of buildings. To create the final project I ran 3 of the draw functions with add color functions to get the cityscape.
In the future, I plan to continue my learning code by doing more work with python.
|
|
|---|---|
 |  |
 |
 |
10 Hours of Coding Hour 9
This hour I completed the third section of the Basic Cityscape course and learned more about drawing with code.
Specifically, I learned how to add some variety to the buildings by varying the types of windows in the offices and the types of roofs on the buildings. To automate this process I learned how to update my draw function in order to include variations by using the switch function. With this I can set it to use a different type of window or roof depending on the variable that enter into the draw function when calling it. By setting up multiple vars/cases I could generate random building designs.
Next hour, for my final hour I will be completing the fourth and final section of the Basic Cityscape course to end off my learning about drawing with code.
|
|
|---|---|
 |  |
 |
 |
10 Hours of Coding Hour 8
| This hour I completed the second stage of the Basic Cityscape course and learned more about drawing using code. Specifically, I continued to draw building using functions, but also learned how loops work in order to add windows to my buildings. Using the loops( for i= "i") I can draw windows across the whole building without having to do it individually, instead having the loop automatically place all the windows for me. Next hour, I will complete the third stage of the Basic Cityscape course and learn more about drawing using code. |
|
|---|---|
 |
 |
 |
|
10 Hours of Coding Hour 7
| This hour I began the Basic Cityscape drawing in code course and completed stage 1. Specifically, I learned to draw the shapes of different sizes of buildings using code on a coordinate system. Beginning with using the context.fillRect() command to create the shapes by hand I eventually worked up to using variables (vars) and functions (function drawBuilding(leftX, groundY, units, floors) {}) to automate the process. Next Hour I will complete the second stage and continue to learn to draw a cityscape with code. |
|
|---|---|
 |
 |
 |
 |
 |
 |
 |
 |
10 Hours of Coding Hour 6
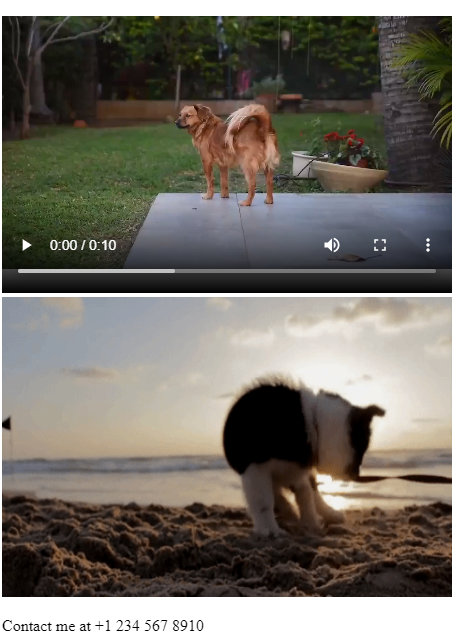
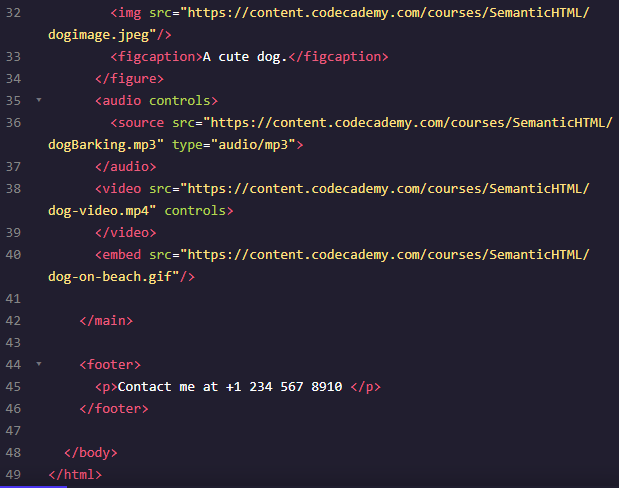
| This hour I completed the sixth and final module of Codeacademy's Introduction to HTML course about Semantic HTML Specifically, I learned that Semantic HTML is a modern standard and used to make websites more accessible to users. Instead of using <div>s which can get complicated to read Semantic HTML uses <header>, <nav>, <footer>, and <main> tags. This gives better indication as to what the purpose of the code written in them does and as such is easier to read. Other replacement tags for non-semantic HTML I learned include: <section>, <article>, <video>, and <aside>. Next Hour I will be moving on to the Basic Cityscape course on http://drawingincode.com/lessons/granular_basic_cityscape/stage1/index.html |
|
|---|---|
 |  |
 |
 |
10 Hours of Coding Hour 5
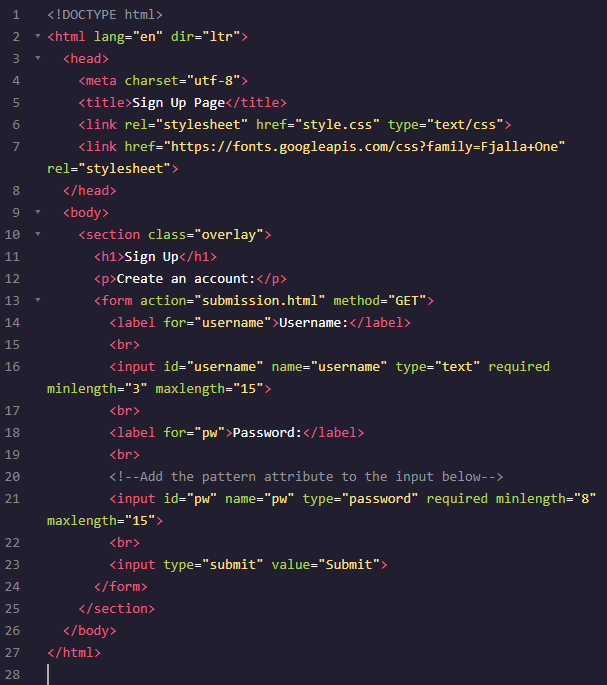
| This hour I completed the fifth module of Codeacademy's course Introduction to HTML about Form Validation Specifically, I learned that client-side validations happen in the browser before information is sent to a a server and that Form Validation is the concept of checking user inputted data with the data that is required. I also learned about form attributes that allow me to set the parameters of usernames and passwords. For example "maxlength" and "minlength" which control the amount of characters available for use. Next Hour I will complete the sixth module about Semantic HTML. |
|
|---|---|
 |  |
 |
 |
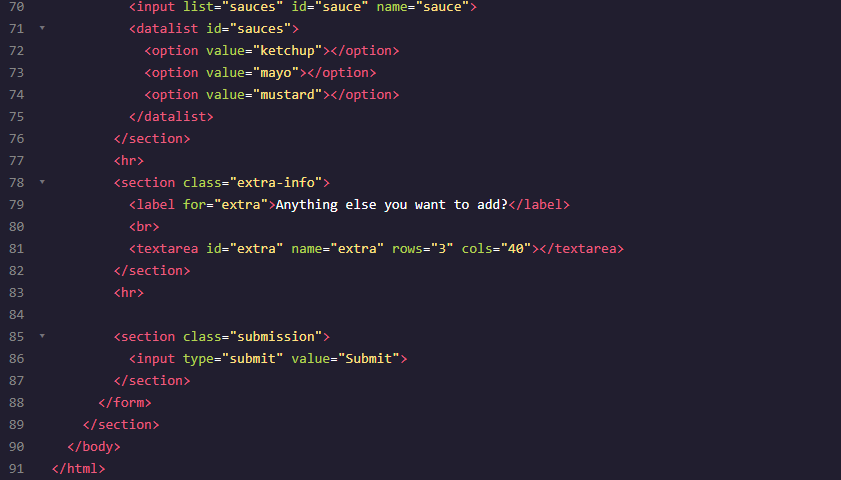
10 Hours of Coding Hour 4
| This hour I completed the fourth module of Codeacademy's course Introduction to HTML about HTML Forms Specifically, I learned about the <form> element and its use for users to input and send information. Additionally, I learned about the <form>'s method attribute which determines how information is inputted and processed. Lastly, I learned about the <input> element and how its type attribute can be used to create various types of field that users can use to input information. Two examples of types include "password" which creates a single row field that censors text input and "range" which creates a slider to select from a range of numbers. Next Hour I will complete the fifth module about Form Validation. |
|
|---|---|
 |  |
 |
 |
Subscribe to:
Comments (Atom)